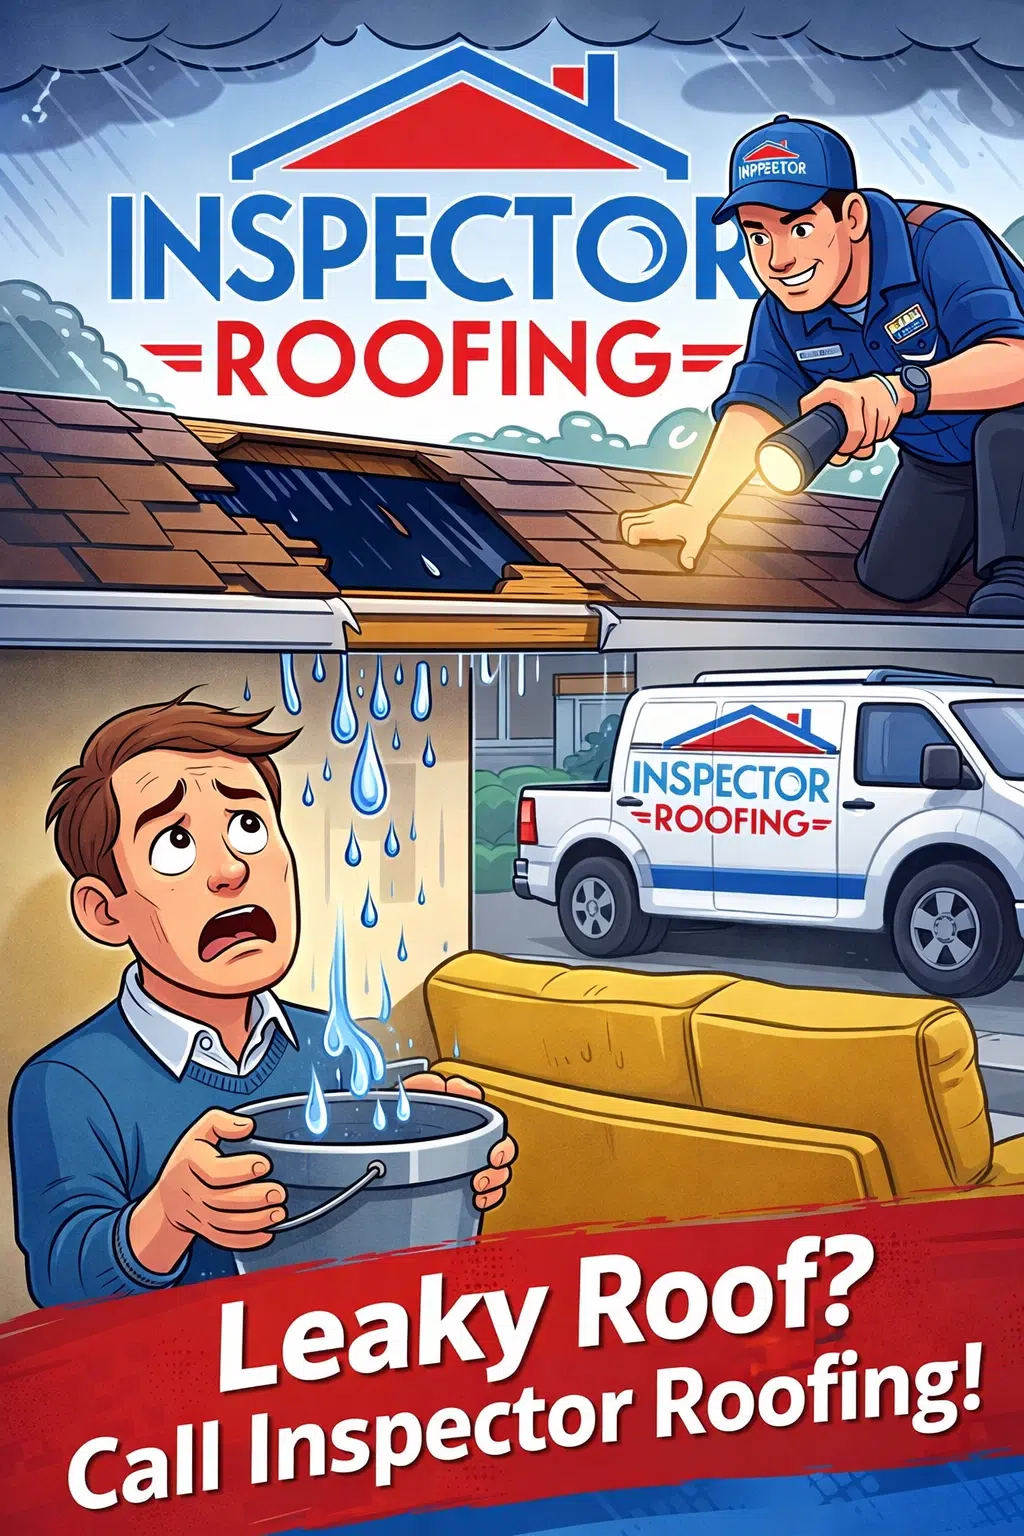
If water is showing up on your ceiling, the stain is rarely the true entry point. Our approach is inspection-first: find the source, dry-in the home, then repair the failure point (flashing, pipe boots, valleys, shingles, chimney, vents). Serving Alpharetta near Avalon, Windward, Downtown Alpharetta, and surrounding neighborhoods.
If active leaking is present, we prioritize a fast dry-in strategy: protective covering, targeted temporary sealing, and interior guidance to reduce further damage (without unsafe roof access).
If you have an active leak, take photos of the interior water area for your records and move valuables away from the drip path.
Water can travel along decking, rafters, and insulation before it shows inside. We trace likely entry points by roof geometry, penetrations, and flashing transitions.
The goal is to avoid “random caulking” and fix the actual failure detail.
Roof systems are layered. Water can enter at one point, travel along underlayment/decking, and appear far away. That’s why leak repair is a diagnostic job before it’s a “repair job.”
We organize findings so you can understand what failed and why the repair fixes it. If storm-related, this also helps support a clear insurance decision.
| Leak Source | What You Notice | Typical Fix |
|---|---|---|
| Pipe boot failure | Drip near bathrooms / laundry; worse with heavy rain | Replace boot, reseal correctly, verify shingle integration |
| Chimney flashing / counterflashing | Water near fireplace chase or adjacent walls | Rebuild flashing detail (step/counter), seal and divert water correctly |
| Valley / dead-valley issue | Leak after prolonged rain; stains may “appear away” from valley | Correct valley detail, repair underlayment, ensure proper drainage |
| Step flashing / wall transition | Leak where roof meets a wall; intermittent pattern | Correct step flashing + kickout to prevent wall intrusion |
| Missing / damaged shingles | Leak after wind event; visible lifted or torn shingles | Replace damaged shingles, verify underlayment condition |
| Skylight / curb issue | Leak at skylight corners; drafts/condensation confusion | Repair curb + flashing, evaluate seal/age/assembly |
Tarping is a temporary protective step when the roof is actively leaking or exposed (storm damage, missing shingles, tree impact) and conditions prevent immediate full repair.
A tarp is only as good as how it’s installed. Proper dry-in is secured, positioned for drainage, and avoids trapping water where it will worsen damage.
If you need emergency coverage: Emergency tarp / dry-in.
We repair the failed detail and verify water path logic: pipe boots, flashing transitions, valley corrections, or isolated shingle replacement—based on inspection findings.
Sometimes the “leak” is the symptom of broader failure: multiple compromised areas, aging materials, or storm impact across slopes. If so, we route you correctly.
If storm-related: visit Insurance Path to route your next step.
If your leak follows a wind/hail event, the correct approach is evidence-first: document the roof condition, identify storm indicators, and avoid vague “wear and tear” assumptions. Our claim-ready process focuses on: verification, documentation, and clear routing.
*Outcomes vary by policy and adjuster findings. We provide inspection-first documentation and scope clarity to support a clean claim decision.
We provide roof leak repair and emergency dry-in support across Alpharetta and nearby communities. Common areas include: Avalon, Windward, Downtown Alpharetta, and surrounding neighborhoods. We also serve nearby: Milton, Roswell, Johns Creek, Sandy Springs.
Many leaks can be stabilized the same day with a dry-in plan (tarp/temporary protection), then permanently repaired once the source detail is verified and conditions allow safe access.
Water travels along decking, rafters, insulation, and fastener paths. The visible ceiling stain is often a downstream symptom, not the true entry point.
Coverage depends on cause. Sudden storm-related damage may be covered, while age/wear-related deterioration often is not. The key is inspection-first verification and documentation.
Emergency interior steps to reduce damage are fine, but random roof caulking can hide the true failure point and complicate diagnosis. A targeted repair is the safer long-term fix.
Last Updated: February 9, 2026